2013年7月13日土曜日

今日の備忘録(LinuxへのUSB-232c接続の設定)

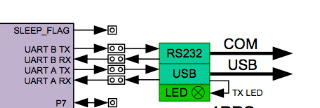
Debian Linux のscreenをコマンドを使って、NV08cのデータをUSB経由で表示するまでの備忘録

(0)ttyデバイスドライバのインストール
Debianのバージョンを確認は、
 cat /etc/debian_version
6.0.7 だった。 Linuxのカーネルバージョンの確認は、
uname -a 
2.6.32-5-amd64 でした。

NV08Cには、FTDI製FT232RL(FT232R)が使用されている。
3Mbpsまでの速度に対応した高速USBシリアルチップ(Serial Conveter)であり、USBに接続するだけで、TTLレベルで高速シリアル通信が可能。デバイスドライバは FTDIのサーバからダウンロードできる。
Linuxのこのカーネルバージョンだと既にFT232RLのデバイスドライバが組み込まれているので、インストールは不要だった。
(1)NV08cを接続して、インストールされたデバイスドライバの動作を確認。
ls /dev/ttyUSB*
私の環境では、/dev/ttyUSB0に割り当てられているようでした。

(2)デバイスドライバーの使用権を設定。
デバイスドライバのグループに自分のユーザIDを登録する。
vigrコマンドを使用して、/etc/groupを変更。
dialout:x:20:
dialoutが ttyUSB0のグループ名なので、ここに(20:の後ろに)自分のIDを追加

この作業の際にsudo コマンドが使えないことがわかったので、
visudo コマンドで自分を追加
ここのページを参照→ http://www.atmarkit.co.jp/flinux/rensai/linuxtips/221rootcomuse.html
エディタがvi風じゃなかったので使いにくかったけど、 なんとか変更できた。
                               

(3)screenのインストール
synapticパッケージマネージャ(システム→システム管理の中にある)を利用して、screenをインストール。(検索で探して、チェックして、適用、するだけ。簡単だなぁ。今は。)

(4)screen の起動
screen /dev/ttyUSB0 115200  
もしも、動かないときはsudoをつけて実行してみる。
(group への追加は意味があったのか?)

GPS受信機からのデータが見えれたので、OK!

2013年7月12日金曜日

NV-08c BINR への変更

BINRを出力するための手順

1. 電源ON時は、NMEA(115200 baud)がデフォルト.
Teraterm等をつかって、 (うーん、Macでやりたいけど、どうすればいい?)

2. NMEAコマンドで,COMポートをBINRに切り替え.
$PORZA,0,115200,3*7E<0D><0A>     (0D,0Aは、CR+LF)

3. COMポートを,odd parityに設定.(これは海老沼先生からの情報より。かなり重要。言われないと気づかない。)

4.バイナリーエディタなどを使って
0x01 0xF4 0x0A 0x10 0x03 と書いたファイルを作成する。(0xは16進数の意味)


5. RAWデータ出力をBINRで次のコマンドを送信
0x01 0xF4 0x0A 0x10 0x03

これはつまり、(手順4)で作ったファイルをTeratermなどの通信ソフトの
バイナリーモードで送信することを意味する。 

-----------------
この切り替えは、評価ボードのデフォルトだとメモリに記憶されない。
なので、毎回設定する必要がある。めんどくセー
  

ケースを開けて,設定をBRAM記憶するようにGPIOの
ジャンパを差し替える必要がある。
 マニュアル(NV08C-EVK-CSMUser Guide Version 1.2)の
Configuration settings(p11)によると、

GPIO3、4、5、7をかえればいい デフォルトだと、シリアルポートは、BINRらしい。UART AとUART Bの逆のパターンがあればいいのに、...。

GPIO7を1にすれば、設定をおぼえていてくれる。
(これが便利かといえばそうでもなく、初期設定のほうがいいかも。よく考えられてる〜)


GPIO 3,4,5,7と Evaluation kitsのジャンパの対応は、
GPIO7は、X14
GPIO3は、X19
GPIO4は、X18
GPIO5は、X17
なので、今回はX14を2−3に変更。

今日は、ひとまずここまでで、終了。

RTKRCV の 動作のさせ方

RTKLIBのマニュアル(p63)によれば、

コマンドラインから、

rtkrcv [-s][-p port|-d dev][-o file][-t level]
と入力すると、rtkrcvが シェルプログラムとして起動する。


起動時のオプションは、


-s     start RTK server on Program startup
-p port port number for telnet console
-m port port number for monitor stream
-d dev terminal device for console
-o file configuration file
-r level output solution status file
(0:off,1:states,2:residuals)
-t level d
ebug trace level (0:off,1-5:on)


起動すると、
rtkrcv>   の用なコマンドプロンプトが表示されるので、
以下のコマンド(COMMANDS)を入力する。 
helpを入力すると,
rtkrcv> help
rtkrcv ver.2.4.2 b11 commands
start : start rtk server
stop : stop rtk server
restart : restart rtk sever
solution [cycle] : show solution
status [cycle] : show rtk status
satellite [cycle]: show satellite status
observ [cycle] : show observation data
navidata [cycle] : show navigation data
stream [cycle] : show stream status
error : show error/warning messages
option [opt] : show option(s)
set opt [val] : set option
load [file] : load options from file
save [file] : save options to file
log [file|off] : start/stop log to file
help|? [path] : print help
exit : exit and logout console
shutdown : shutdown rtk server
!command [arg...]: execute command in shell
となり、各コマンドの説明を見る事が出来る。

Mac OSX で、もしも GPS受信機を接続した232cのデバイスが /dev/tty**** で、
単独測位を実行するのであれば、


sudo rtkrcv -o ../single.conf -d /dev/tty**** 

となるはず。

rtkrcv> プロンプトが表示されたら、

rtkrcv>startを入力して、実行。

rtkrcv>navdata 1  と入力すれば、実行結果が表示される。


実行時のコマンドの説明文をマニュアルよりコピー
COMMANDS

start
Start RTK server. No need the command if the program runs with -s option.

stop
Stop RTK server.
restart
Restart RTK server. If the processing options are set, execute the command to enable the changes.
solution [cycle]
Show solutions. Without option, only one solution is shown. With option, the soluiton is disp
layed at intervals of cycle (s). To stop cyclic display, send break (ctr-C).
status [cycle]
Show RTK status. Use option cycle for cyclic display.
satellite [cycle]
Show satellite status. Use option cycle for cyclic display.
observ [cycle]
Show observation data. Use option cycle for cyclic display.
navidata [cycle]
Show navigation data. Use option cycle for cyclic display.
stream [cycle]
Show stream status. Use option cycle for cyclic display.
error
Show error/warning messages. To stop messages, send break (ctr-C).
option [opt]
Show the values of processing options. Without option, all options are displayed. With option, only pattern-matched options are displayed.
set opt [val]
Set the value of a processing option to val. With out option val, prompt message is shown to input the value. The change of the processing option is not enabled before RTK server is restarted.
load [file]
Load processing options from file. Without option, default file rtkrcv.conf is used. To enable the changes, restart RTK server.
save [file]
Save current processing optons to file. Without option, default file rtkrcv.conf is used.
log [file|off]
Record console log to file. To stop recording the log, use option off.
help|? [path]
Show the command list. With option path, the stream path options are shown.
exit
Exit and logout console. The status of RTK server is not affected by the command.
shutdown
Shutdown RTK server and exit the program.
!command [arg...]
Execute command by the operating system shell. Do not use the interactive command.
NOTES
Short form of a command is allowed. In case of the short form, the command is distinguished according to header characters.
(コマンドの簡易型が許可されます。簡易型の場合には、コマンドがヘッダー文字によって識別されます。)
終了時は、 shutdown コマンドを使用する。
rtkrcv> shutdown
shutdown rtkrcv process ? (y/n): y

2013年7月10日水曜日

UAV 試験飛行 3回目

飛行時間は5分24秒

今日も30cmぐらいの高さを飛行時に急激にパワーが無くなり、落ちてきた。

前回と同様に、前二つのモーターのパワーが無くなった。

カメラの動画スタートのボタンを押し忘れた。f^_^
いい映像が撮れたはずなのに。   残念。

2013年7月9日火曜日

Ustream の 実験中

iPad と モバイルルータを使って
Ustream の リアルタイム配信の実験中。
モバイルルータは bーmobileの 格安プランのモノ。最高で150kbps(300kbps?) しか出ないけど、なんとか見えてる。

画質は標準。
http://www.ustream.tv/recorded/35567309

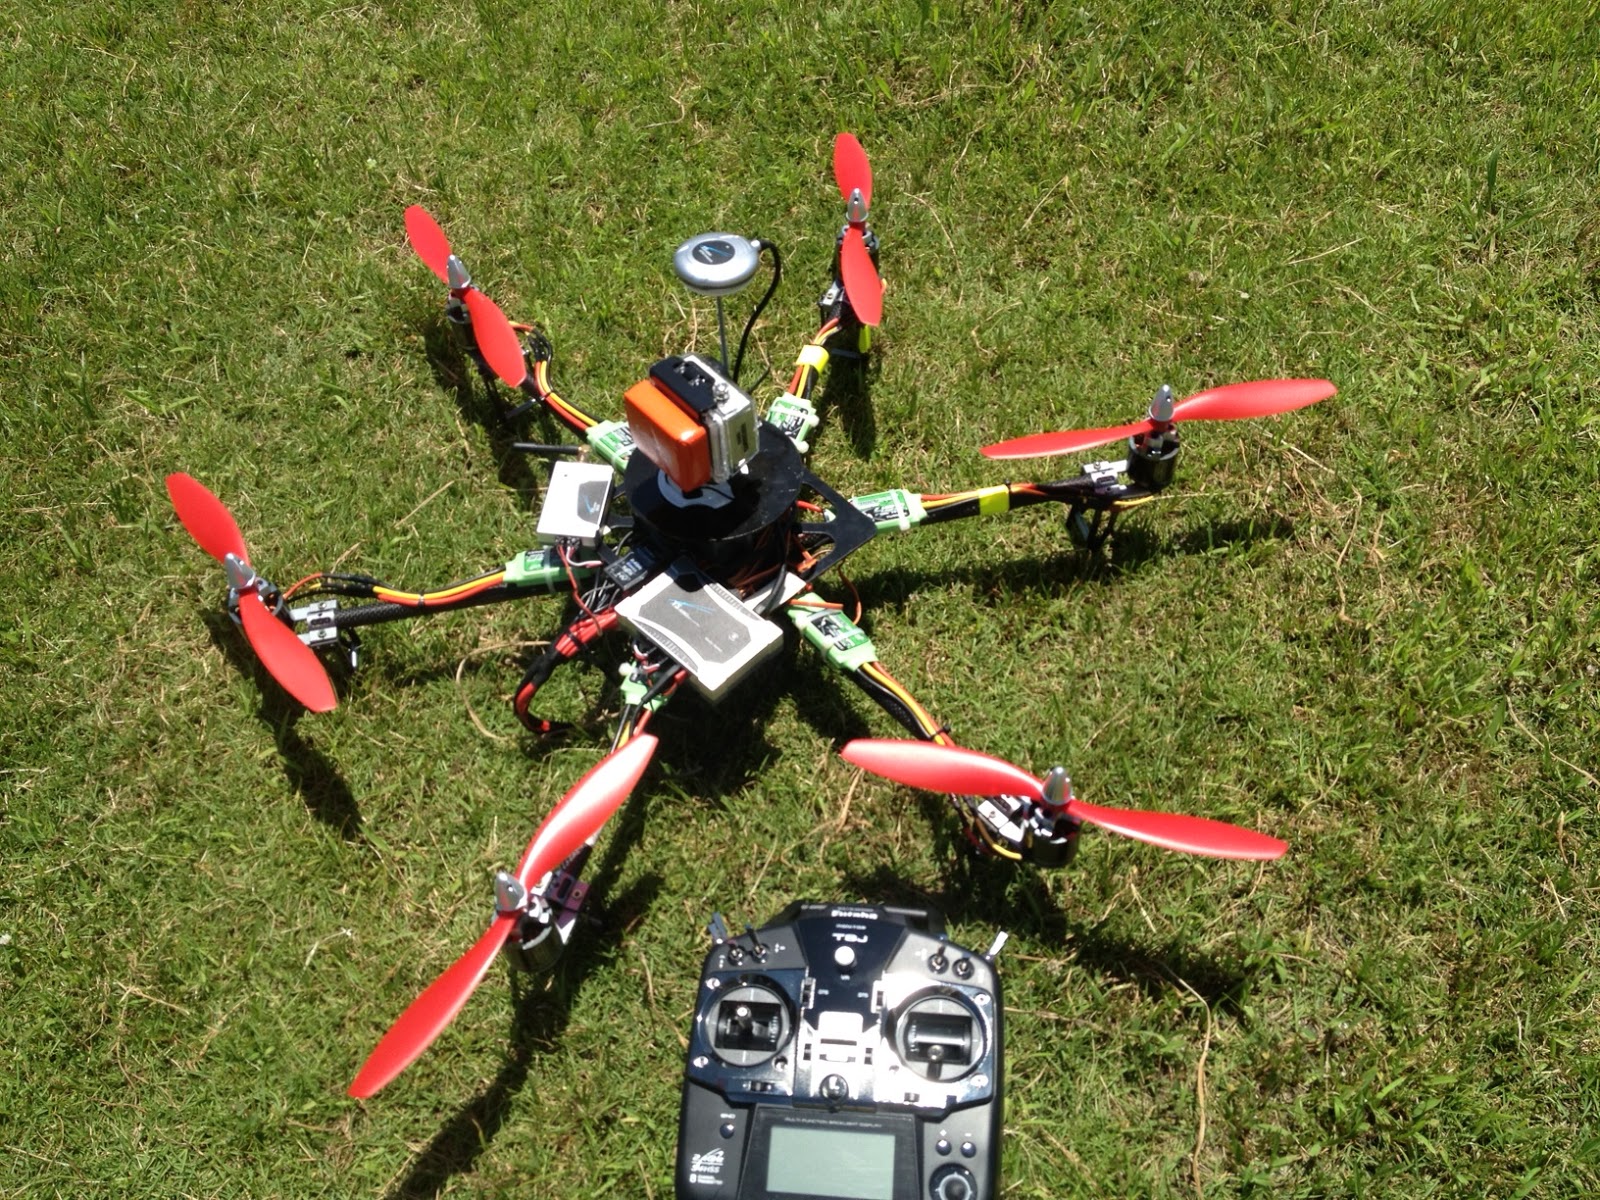
6ロータマルチコプタ 試験飛行(2回目)

6ロータマルチコプタの 第2回目の試験飛行を実施

 飛行時間は、ほぼ連続で6:30秒。 最後は、出力が出なくなった。
バッテリーは、3300mAh (3セル, 25-50C Dischargeable )を使用。
電圧は、開始前が12.6V 終了後が9.8V(3.25V, 3.14V,3.41V)セル間の
ばらつきが気になる。(開始前は記録していないが、ばらつきは,0.02V程度)

GPSアンテナの支柱が回転するので、締め上げて瞬間接着剤で固定。
前がわかるように、蛍光黄色のテープを貼った。
うーん、 目立たない。

iPhoneを搭載して、Ustream で録画した。 アカウントがわからないので、
ライブ配信はなし。
その後、アカウントを新たにつくり、速い回線が使える場所に移動して、アップロードできた。http://www.ustream.tv/recorded/35567373   
 画面がひっくり返っています。


電池を充電中。条件は、0.3A 3Cell balanced charge 。
8時間ぐらいかかりそう。

午後に2回目の飛行訓練
5分30秒でパワーダウン。 気温が33度と高いため? 直射日光を浴びるともっと温度が上がっているはず。

電池がきれると急激に力がなくなり、不意に落ちる。怖い。
カメラをGoPro2に換えました。

1回目の実験につかったLiPoバッテリーを充電しました。0.1C の0.3A で約10時間ほどかけた。 結果は3351mAH  12.51V( 4.17V, 4.20V,4.21V) 。


ECEF XYZ <-> ECEF BLH

直交座標による表示と 極座標のよる表示の 相互変換をExcelで作製した


GPS受信機が出力するNMEAを処理するときに使う。
加えて
ローカル座標系のBLHへの変換も行う